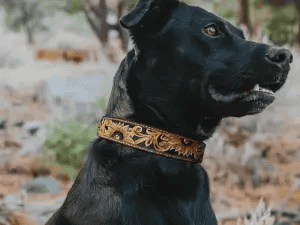
Personalized pet accessories have gained immense popularity among pet owners. A custom leather dog collar not only adds a unique touch to your furry friend’s style but also ensures durability and comfort. Instead of purchasing a generic collar, crafting your own allows you to choose the perfect fit, design, and materials. This guide will walk you through the entire process of making a high-quality, personalized leather dog collar at home.
The Rising Trend of Personalized Pet Accessories
In recent years, pet owners have started seeking unique accessories that reflect their pets’ personalities. Custom collars stand out as a stylish and practical way to showcase creativity. With various options like nameplates, embossing, and hand-painted designs, personalized leather collars offer a blend of fashion and function.
Benefits of Crafting Your Own Leather Dog Collar
Creating your own collar provides several benefits:
- Customization: Choose colors, engravings, and accessories that suit your pet’s personality.
- Quality Control: Ensure you use high-quality, durable materials that are safe for your dog.
- Cost-Effectiveness: Making a collar yourself can be more affordable than purchasing a high-end custom one.
- Personal Satisfaction: Crafting a leather collar is a rewarding experience that strengthens your bond with your pet.
Materials Needed
Before starting, gather the necessary materials to ensure a smooth crafting process.
Types of Leather Suitable for Dog Collars
Choosing the right leather is crucial for comfort and durability. The best options include:
- Full-Grain Leather: High-quality, durable, and ages well.
- Latigo Leather: Strong, flexible, and water-resistant.
- Bridle Leather: Soft yet sturdy, often used for horse tack.
Essential Tools and Where to Source Them
You’ll need the following tools to make a professional-quality leather collar:
- Leather cutter or utility knife – for precise cuts
- Leather hole punch – for buckle and adjustment holes
- Edge beveler – for smooth, polished edges
- Burnishing tool – to finish and smoothen edges
- Needle and thread or rivets – to secure hardware
- Leather dye and sealant – for coloring and protecting the leather
These tools can be sourced from local craft stores or online retailers specializing in leatherworking supplies.
Choosing the Right Hardware (Buckles, D-Rings, etc.)
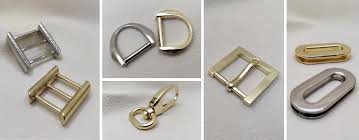
Durable hardware ensures the longevity and functionality of the collar. The best options include:
- Brass or stainless steel buckles – rust-resistant and strong
- D-rings – for attaching tags or leashes
- Rivets or heavy-duty thread – to secure the hardware
Design Planning
Once you have your materials, it’s time to design the perfect collar for your dog.
Measuring Your Dog’s Neck Accurately
A proper fit is essential for comfort and safety. Follow these steps to measure your dog’s neck:
- Use a soft measuring tape.
- Wrap it around your dog’s neck where the collar will sit.
- Add two fingers’ space to ensure a comfortable fit.
- Note the final measurement before cutting your leather.
Selecting a Collar Width and Length
- Small dogs: ½ – ¾ inch wide
- Medium dogs: ¾ – 1 inch wide
- Large dogs: 1 – 1½ inches wide
- Length: Typically, the neck measurement plus 4-6 inches to allow for buckle adjustments.
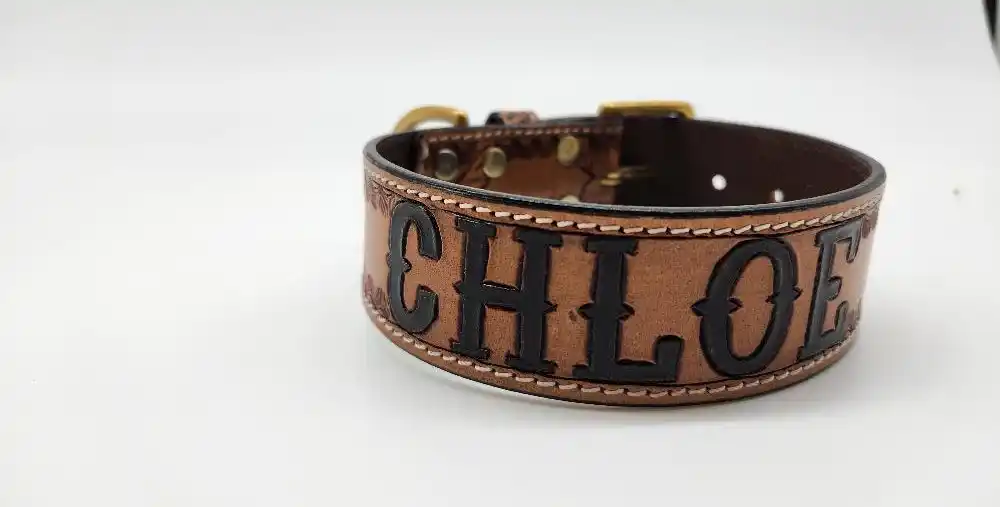
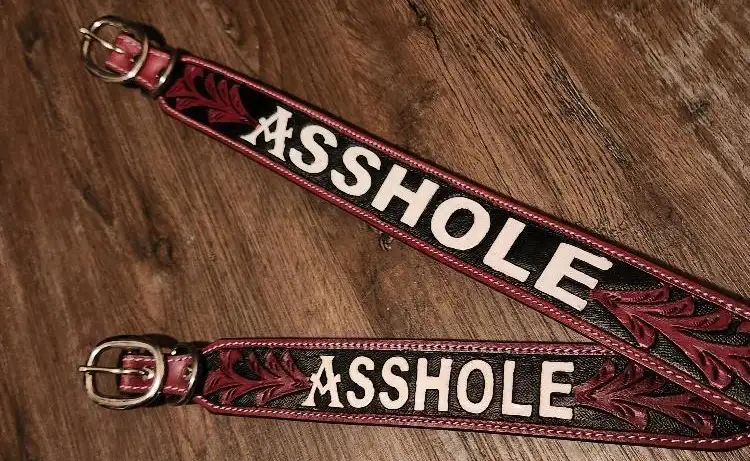
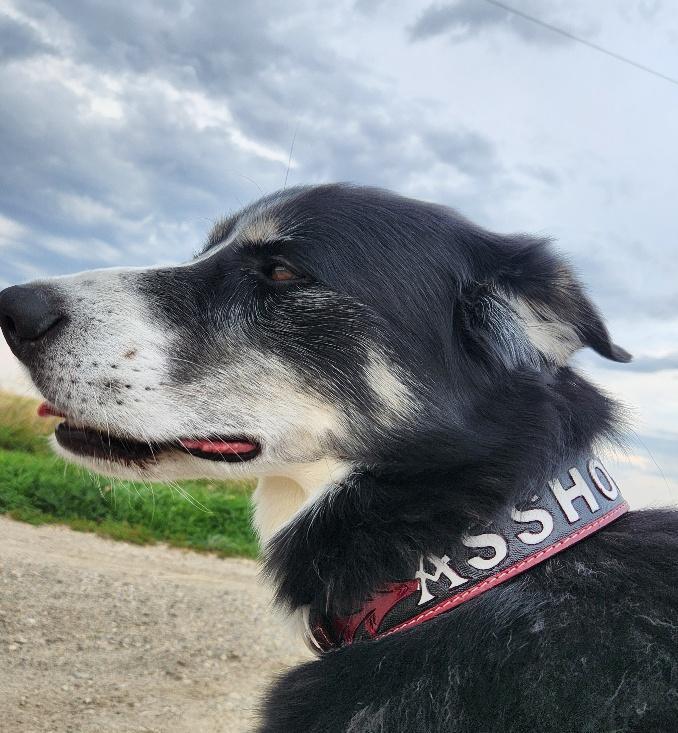
Incorporating Personalized Elements (Nameplates, Embossing, etc.)
Adding a unique touch can make your dog’s collar stand out. Consider these options:
- Embossed initials or designs using leather stamps
- Hand-painted patterns or names
- Metal nameplates engraved with your dog’s name and contact information
Step-by-Step Crafting Process
Now, let’s dive into making your custom leather dog collar.
Cutting the Leather to Size
- Mark the measurements on the leather strip.
- Use a sharp knife or leather cutter to trim it to size.
- Round the edges for a smooth look.
Beveling and Burnishing Edges for a Polished Look
- Use an edge beveler to smoothen sharp edges.
- Burnish the edges using a burnishing tool and water or gum tragacanth for a sleek finish.
Punching Holes and Attaching Hardware Securely
- Mark and punch buckle holes evenly spaced.
- Attach the buckle using rivets or stitching.
- Secure the D-ring for leash attachment.
Adding Decorative Touches (Stamping, Painting, etc.)
- Use leather stamps for patterns.
- Apply dye for a rich color.
- Seal the leather to protect the design.
Finishing Touches
After crafting the collar, the final steps enhance durability and safety.
Conditioning the Leather for Durability
Leather can dry out over time, so applying a leather conditioner keeps it soft and prevents cracking.
Safety Checks to Ensure the Collar is Pet-Friendly
- Ensure there are no sharp edges.
- Check for secure rivets and hardware.
- Adjust the fit to ensure comfort.
Maintenance Tips
To extend the life of your custom leather collar, follow these maintenance tips.
Cleaning and Storing the Leather Collar
- Wipe with a damp cloth for regular cleaning.
- Use leather cleaner occasionally.
- Store in a dry place away from direct sunlight.
Periodic Checks for Wear and Tear
- Inspect the collar monthly for damage.
- Replace worn-out rivets or buckles if necessary.
Conclusion
Crafting a personalized Leather Dog Collar at home is a rewarding project that allows you to showcase creativity while ensuring quality and comfort for your furry friend. Whether you choose to emboss, paint, or add metal nameplates, your handmade collar will be a unique statement piece. If you’ve enjoyed this DIY process, consider exploring more advanced leather crafting techniques for additional pet accessories. Happy crafting!